Join Workshops
Physical Address
304 North Cardinal St.
Dorchester Center, MA 02124
How to Print a Photo on Wood Using Laser Engraving
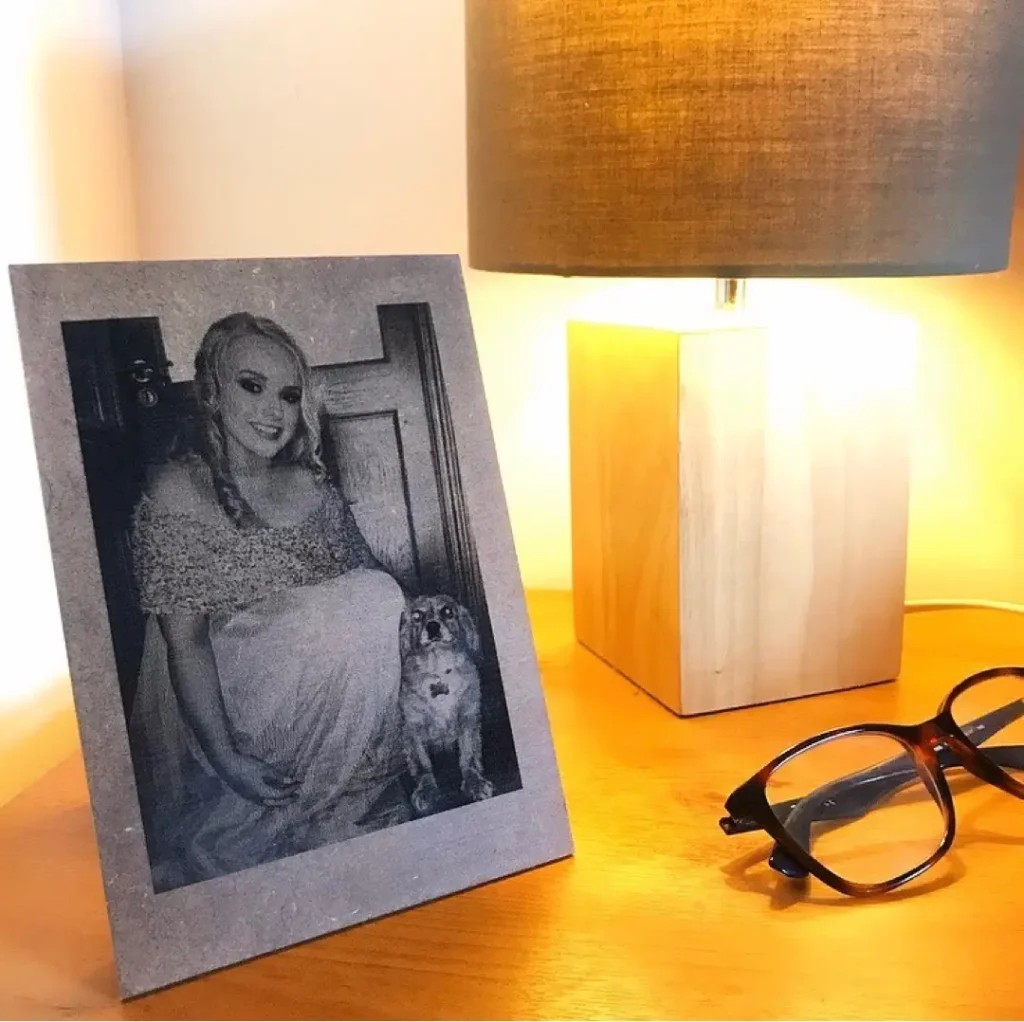
Creating stunning photo engravings on wood combines craftsmanship with technology. Many are drawn to this technique to preserve memories in an elegant and durable medium. However, the process requires precision, the right tools, and an understanding of how wood and lasers interact. This guide offers practical tips, secrets, and proven best practices to help you engrave a photo onto wood successfully.
Key Takeaways:
- Photo preparation is critical – High-contrast, clear images yield the best results.
- Choose the right wood type – Softwoods like pine or hardwoods like maple each affect the engraving’s outcome differently.
- Laser settings matter – Power, speed, and resolution settings must align with your wood type and design complexity.
- Pre-treating wood improves results – Sanding and cleaning enhance clarity and depth of the engraving.
- Software like Lightburn plays a crucial role – Proper settings and adjustments in Lightburn directly influence the engraving quality.

What Do You Need to Start Photo Engraving on Wood?
To engrave a photo onto wood, you’ll need:
- A laser engraver – For instance, a 40W CO₂ laser engraver like the OMTech K40 is a good entry-level choice for detailed engravings.
- Appropriate wood – Maple for detailed work or plywood for practice.
- Design software – Lightburn or free alternatives like LaserGRBL for photo editing and laser calibration.
- Basic tools – Sandpaper (e.g., 220-grit), masking tape, and cleaning materials like isopropyl alcohol.
For example, if you’re engraving a 4×6-inch photo onto maple, a mid-range laser engraver with 50W power would work well. Adjustments to the settings (explained below) will fine-tune the results.
How Do You Prepare a Photo for Engraving?
1. Choose the Right Photo
Select a high-resolution image with clear contrast. For example, a black-and-white portrait with distinct edges works better than a low-contrast landscape.
2. Edit the Photo
Use photo-editing tools like GIMP or Photoshop. If engraving a family portrait, adjust brightness and contrast to make facial details prominent. Convert to grayscale and apply a dithering effect to simulate shades effectively.
3. Test the Image
Engrave a 2×2-inch section of the photo on scrap wood to confirm clarity. For example, test a corner of a wedding photo to ensure the dress’s details are crisp.

What Wood Types Work Best for Photo Engraving?
The type of wood you choose directly affects the engraving’s appearance. Here’s a breakdown of options:
- Maple: Excellent for intricate family portraits due to its fine grain and light color.
- Birch: Great for engraving logos or text-heavy designs where affordability is a factor.
- Pine: Ideal for rustic designs like a landscape photo, but its knots and grain may disrupt fine details.
- Plywood: Perfect for testing or practicing before finalizing the design on premium wood.
For example, engraving a child’s hand-drawn photo on pine adds character, while using maple ensures sharp details for a wedding picture.
Pro Tip: Sand the wood surface thoroughly and ensure it’s dust-free for better engraving clarity.
What Laser Settings Should You Use?
1. Adjust Power and Speed
Power and speed settings vary by wood type:
- For a detailed 5×7-inch photo on maple: Use 30% power and 400 mm/min speed.
- For a 6×8-inch family portrait on birch: Try 40% power and 350 mm/min speed for deeper engraving.
2. Resolution Settings
For a sharp engraving of a child’s portrait, use 600 DPI. A simple text engraving might only need 300 DPI.
3. Optimize Lightburn Settings
- Grayscale mode: Ideal for capturing subtle gradients in a sunset photo.
- Dithering: Essential for contrasting black-and-white designs like pet portraits.
- Line interval: Set to 0.1 mm for detailed images like a group photo.
Pro Tip: If you’re engraving an 8×10-inch photo on birch, start with lower power and adjust after inspecting the first pass for depth and detail.
Wood laser engravers
These are best wood laser engravers that can print any types of images on wood
How Can Pre-Treatment Improve Results?
Prepping the wood enhances engraving quality:
- Sanding: For a graduation portrait, use 220-grit sandpaper to create a smooth surface.
- Cleaning: Wipe the wood with isopropyl alcohol before engraving to ensure the laser burns uniformly.
- Masking Tape: Cover the wood with tape to avoid burn marks on a birthday photo design.
For example, when engraving a couple’s photo on pine, masking tape helps prevent uneven edges caused by the wood’s natural grain.
What Are the Common Challenges and Solutions?
1. Burn Marks Around the Design
- Solution: Apply masking tape or lower the power settings.
- Example: For a black-and-white engraving of a pet, masking prevents dark burn marks from overshadowing the details.
2. Poor Contrast in the Final Engraving
- Solution: Use light-colored wood like maple or enhance contrast in the image file.
- Example: If a family portrait looks faded on birch, increasing the contrast during editing can significantly improve the outcome.
3. Uneven Engraving Depth
- Solution: Ensure the wood is perfectly flat and recalibrate the laser’s focus.
- Example: Engraving a panoramic photo on plywood requires stable positioning for uniform results.
Can You Add Finishing Touches to Enhance the Design?
Finishing touches can significantly elevate the engraving’s final appearance:
- Apply a clear coat of polyurethane to preserve a vacation photo engraving.
- Add a light wood stain to highlight grain patterns in a forest landscape photo.
- Clean the engraved area with a soft-bristle brush to remove residue after finishing.
For example, sealing a photo of a child’s artwork engraved on birch with a matte finish adds longevity and prevents fading.
What Are the Alternative Ways to Print a Photo on Wood?
While laser engraving is a top choice for precision and durability, other methods include:
- Direct UV Printing: Uses a UV flatbed printer for full-color images, ideal for high-resolution photos but requires expensive equipment.
- Photo Transfer (Mod Podge): A budget-friendly DIY option where a printed photo is transferred onto wood with Mod Podge. Works well for rustic, vintage-style designs.
- Sublimation Printing: Transfers images using heat and sublimation ink onto specially coated wood. Great for vibrant, detailed photos but needs specific materials and tools.
- Hand-Painting or Pyrography: Perfect for unique, artistic recreations but requires time and skill.
Each method has its strengths, making them suitable for various needs and budgets.
Conclusion
Printing a photo onto wood using laser engraving is a blend of art and science. Whether you’re preserving a wedding photo, a family portrait, or a child’s artwork, understanding the wood type, laser settings, and preparation process ensures remarkable results. By following these steps and experimenting with test runs, you can consistently achieve professional-quality engravings.


