Join Workshops
Physical Address
304 North Cardinal St.
Dorchester Center, MA 02124
How to clean leather after engraving?
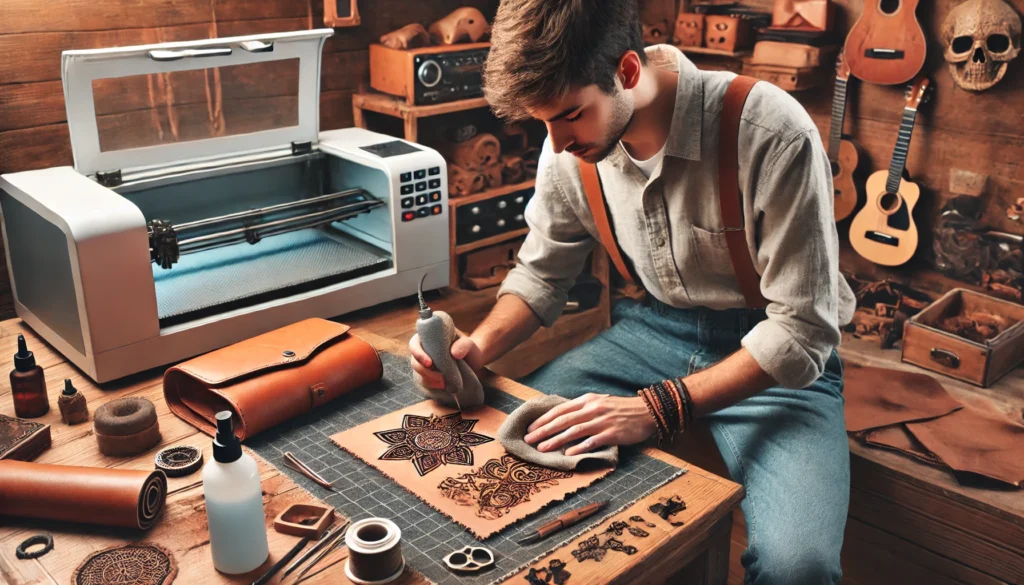
Cleaning leather at the post-engraving stage requires technical skills and common sense. You must apply the leather cleaner with a damp cloth and focus on removing dust and other residues.
Post-engraving cleaning would also require clear understanding of the leather types. For example, artificial leather requires more careful effort than natural leather.
We experienced, that the appropriate laser settings always help save your time during the post-processing works.
This guide will walk you through the steps to clean your engraved leather effectively and safely.
Key Takeaways
- Understand the types of residue left after laser engraving.
- Learn the step-by-step process for cleaning engraved leather.
- Discover tips and techniques to maintain the quality of your leather.
- Explore optimal laser engraving settings to minimize residue.
- Understand how leather coating affects engraving.
What Types of Residue Are Left After Laser Engraving?
Laser engraving leather can result in various types of residue, such as soot, burnt particles, and adhesive remnants from masking materials. Soot and burnt particles are common due to the laser’s interaction with the leather, while adhesive residues can come from tape or other materials used to protect the surface during engraving.

How to Clean Leather After Engraving: Step-by-Step Guide
- Initial Dusting: Begin by gently dusting the engraved area with a soft brush or cloth to remove loose particles. This step ensures you don’t rub abrasive particles into the leather, which could cause scratches.
- Use a Damp Cloth: Lightly dampen a clean, soft cloth with water. Avoid soaking the cloth, as too much moisture can damage the leather. Gently wipe the engraved area to lift away soot and fine particles.
- Apply Leather Cleaner: Select a leather cleaner suitable for your type of leather. Apply a small amount to a cloth and gently rub it into the engraved area in circular motions. Leather cleaners are designed to break down and remove residues without harming the material.
- Remove Adhesive Residues: If adhesive residues are present, use a small amount of adhesive remover or rubbing alcohol on a cloth. Gently dab the affected area, being careful not to saturate the leather. Follow up with a damp cloth to remove any remaining remover or alcohol.
- Condition the Leather: After cleaning, apply a leather conditioner to restore moisture and suppleness. This step is crucial as the engraving and cleaning process can dry out the leather. Use a clean cloth to apply the conditioner, following the product instructions.
What Techniques Help Maintain Engraved Leather?
Maintaining engraved leather requires regular care to keep it looking its best. Here are some tips:
- Regular Dusting: Use a soft brush or cloth to dust the engraved areas regularly.
- Avoid Direct Sunlight: Prolonged exposure to sunlight can fade the engraving and dry out the leather.
- Store Properly: Store leather items in a cool, dry place, away from heat sources.
- Use Protective Products: Apply leather protectants to safeguard against stains and moisture.
Can Household Items Be Used for Cleaning Engraved Leather?
Yes, household items can be used, but with caution. Mild soap mixed with water can serve as a gentle cleaner.
However, always test any cleaning solution on a small, inconspicuous area first to ensure it doesn’t damage the leather. Avoid harsh chemicals and abrasive materials, as they can cause irreversible damage.
Which Laser Engraving Settings Minimize Residue?
Optimal laser engraving settings can significantly reduce the amount of residue left on leather, making post-processing easier. Here are some key settings and tips:
- Laser Power: Use the lowest laser power necessary to achieve a clear engraving. Higher power settings can cause excessive burning and soot.
- Air Assist: Utilize air assist to blow away debris and reduce burning. This helps keep the engraving clean and sharp.
- Masking Tape: Apply masking tape to the leather before engraving to protect the surface and minimize soot. Remove the tape carefully after engraving.
- Laser Type: CO2 lasers are typically recommended for leather engraving due to their precision and efficiency.
- Engraving Pattern: Use a dithering pattern in your software to create a detailed, clean design with less burning.
- LightBurn Settings: Adjust LightBurn image settings for optimal contrast and clarity. Experiment with different speeds and power levels to find the best combination for your leather type.
How Does Leather Coating Affect Engraving?
Leather coating can significantly impact the engraving process and the final result. Coated leathers often require different settings than uncoated leathers. For example, the shiny coating of PU leather can severely affect laser engravings.
Here are some considerations:
- Thickness of Coating: Thicker coatings may require higher laser power or multiple passes to achieve the desired depth.
- Type of Coating: Some coatings can burn or discolor differently than the base leather. Test on a small area first.
- Cleaning Coated Leather: Use products specifically designed for coated leather to avoid damaging the coating.
Conclusion
Cleaning leather after laser engraving doesn’t have to be a daunting task. By following these steps and using the right techniques, you can ensure your engraved leather pieces remain clean and well-maintained. Regular care and attention will keep your leather looking beautiful for years to come.
Remember, the key is to be gentle and use products specifically designed for leather to avoid any damage. Happy cleaning!


